Help Centre
Support > Designing and Building Your Website > Adding Your Content
How do I create an image slideshow?
An image slideshow is a great way of adding content to your Create website. It can be used to promote products or show off your photography.
You can create a slideshow using any of the content blocks which contain an image.
First of all, you can follow the steps below to add the ‘Image’ content block to your webpage:
1. Whilst editing a page, hover over the image you would like to turn into a slideshow
2. Click the Select Image icon in the toolbar or double-click the image
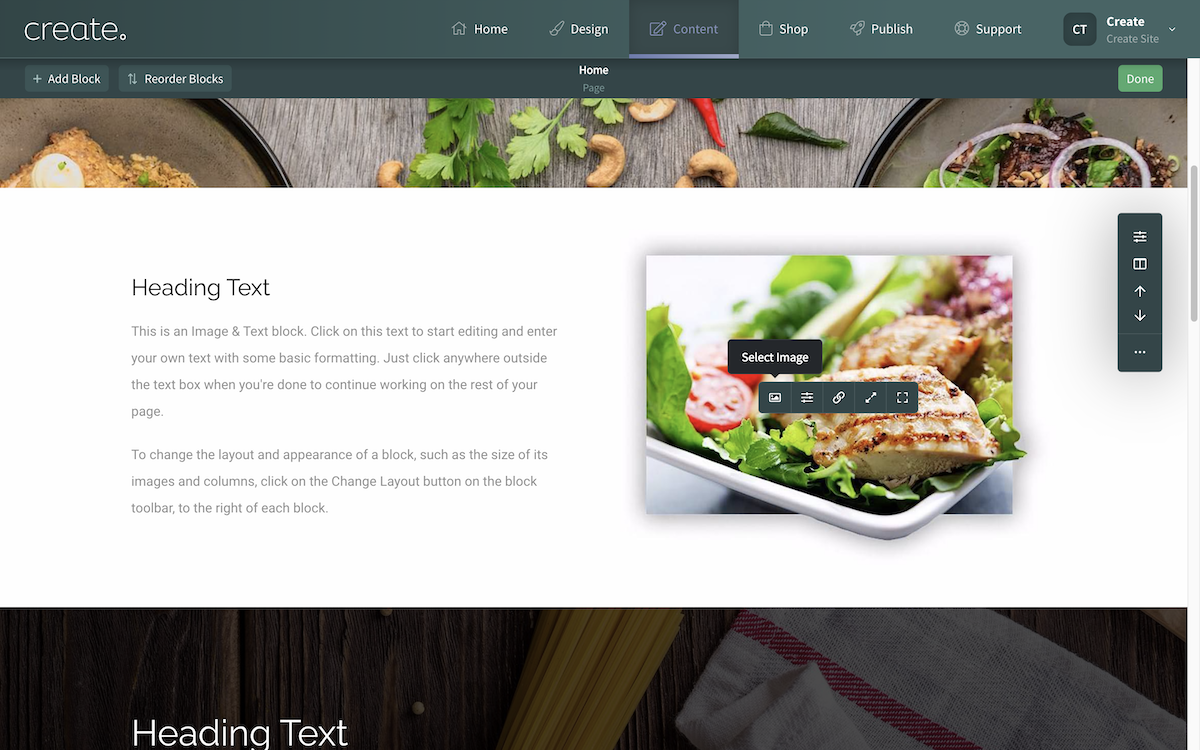
3. The Image Library window will open. Any images you have uploaded will be displayed.
4. You can select Upload Image or Import Stock Images to add images to your library.
5. Once added to your library select the images you want included in the slideshow by clicking each one. A green surround will show around each selected image.
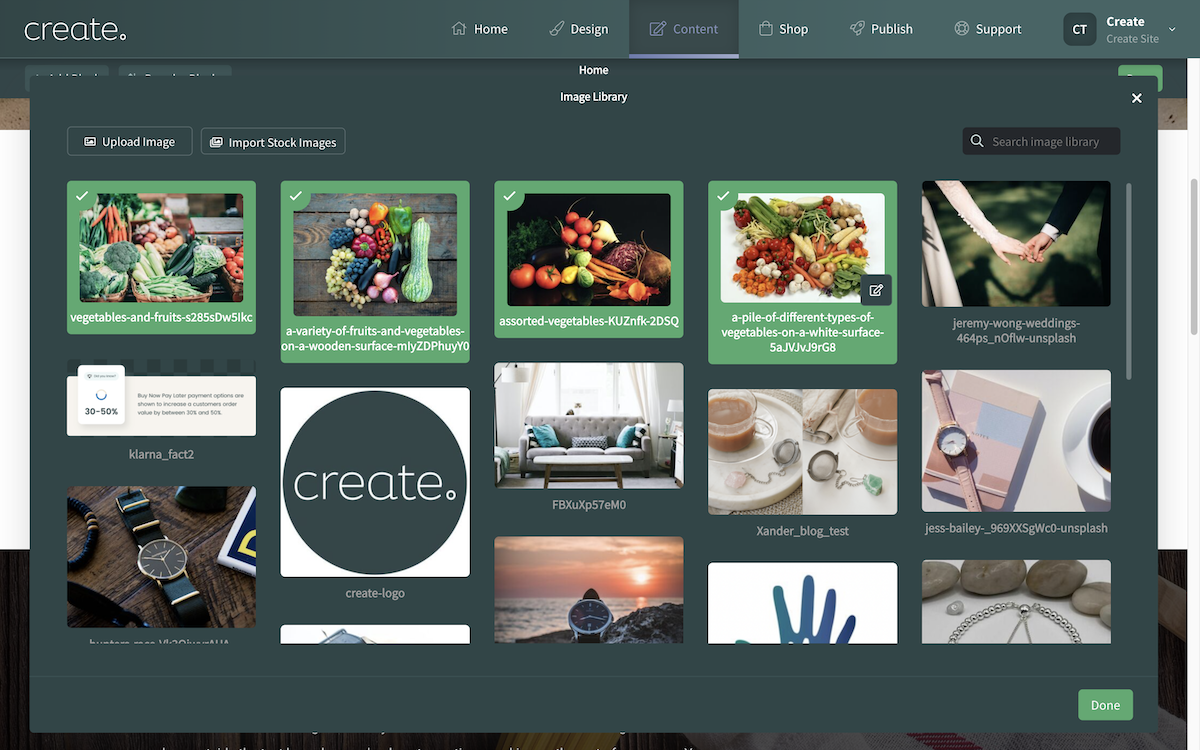
6. Click Done to confirm the selection and the selected images will be turned into a slideshow within that block.
If you hover over the slideshow and click the Image Settings icon, you can edit the order of the images in the slideshow by dragging and dropping the order of them.
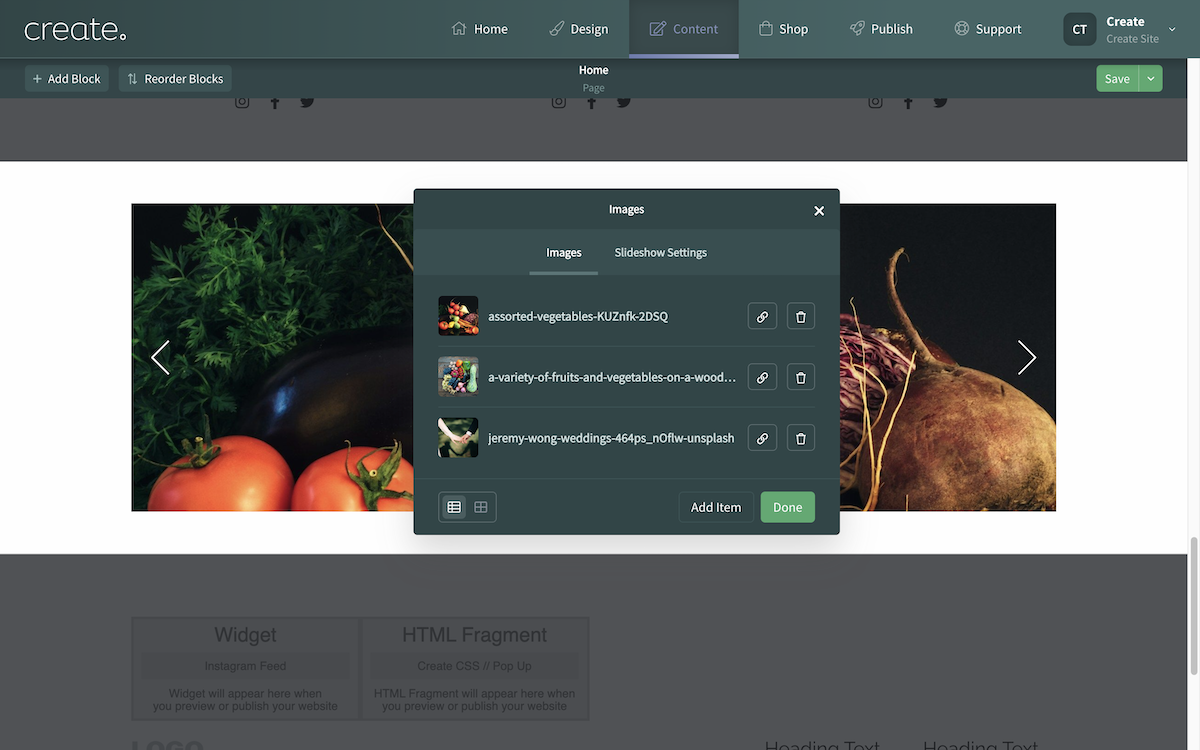
From this section, you can add links to any of the images by clicking the link icon next to an image. This will allow you to set up a link from that image to any page on your website or to a specific URL of your choosing.
Clicking the Slideshow Settings you can choose whether you would like to display left and right arrows on either side of your images or even slider dots below the image - both settings allow your customer to flick through your slideshow at their leisure. You can also set the Auto Play duration.
You also have the option to choose an Auto Play duration which will automatically flick through your photos after a short delay.
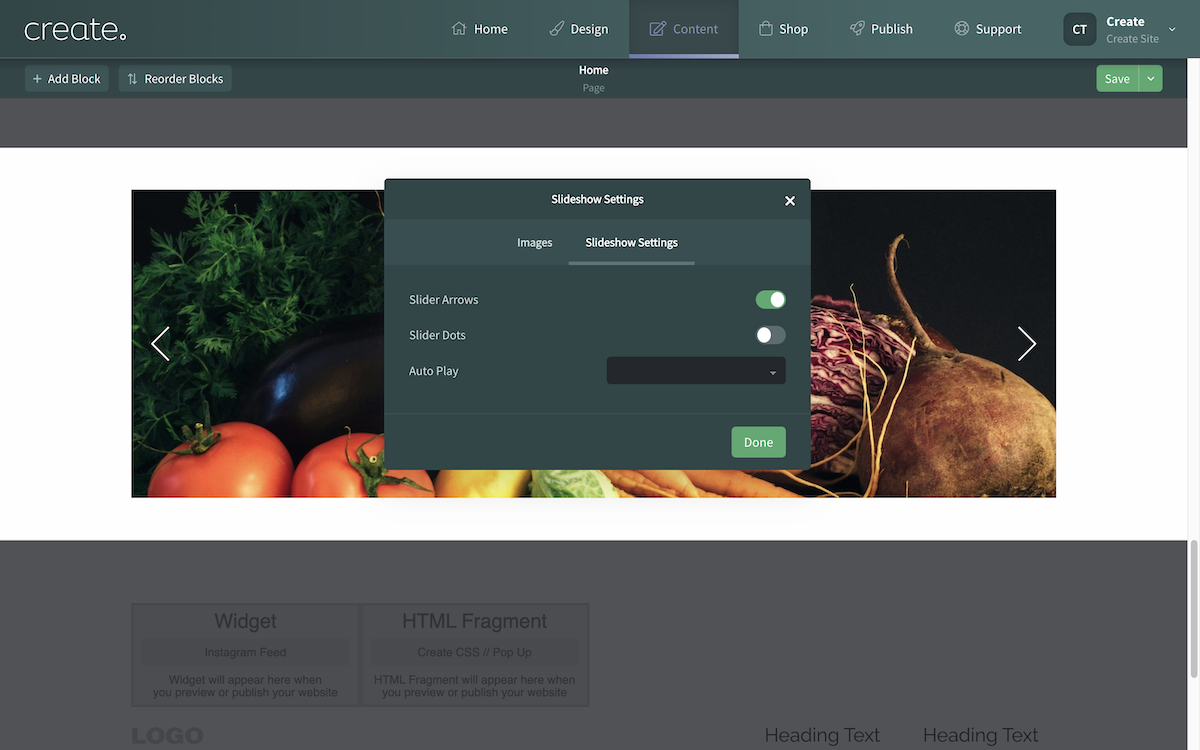
Once you have selected your images and set the Slideshow settings, clicking Done will complete the Slideshow set up
Related Articles
More Questions?
If you have any further questions, please get in touch and we will be happy to help.
Get in Touch


