Help Centre
Support > Designing and Building Your Website > Adding Your Content
An Introduction to Image Settings with Content Pages
You can access the Image Settings for any image used on our Content Pages. The Image Settings allows you to set replace the stock image, with one of your own and set the image Lightbox behaviour and image Alt Text.
Accessing the Image Settings
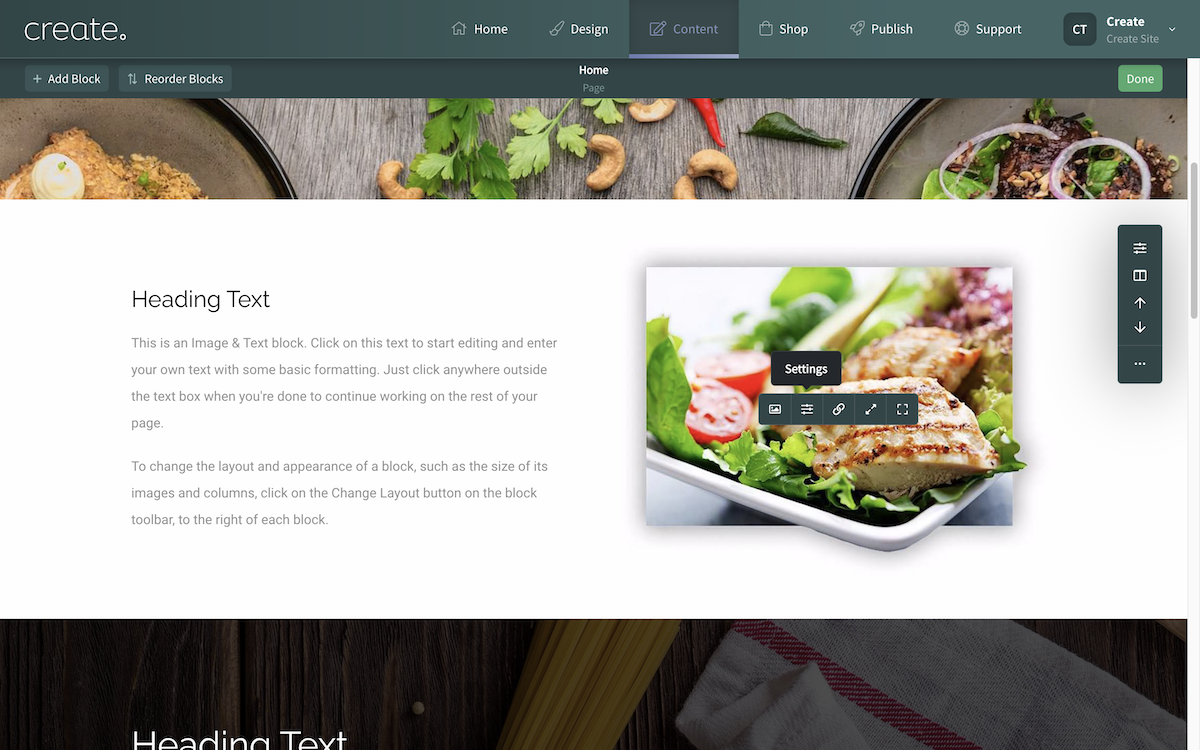
To access the image settings, whilst editing a page, place your mouse cursor over any image and you will see the Image toolbar appear. The second icon is the Settings icon, click this to access the Image Settings for that image.
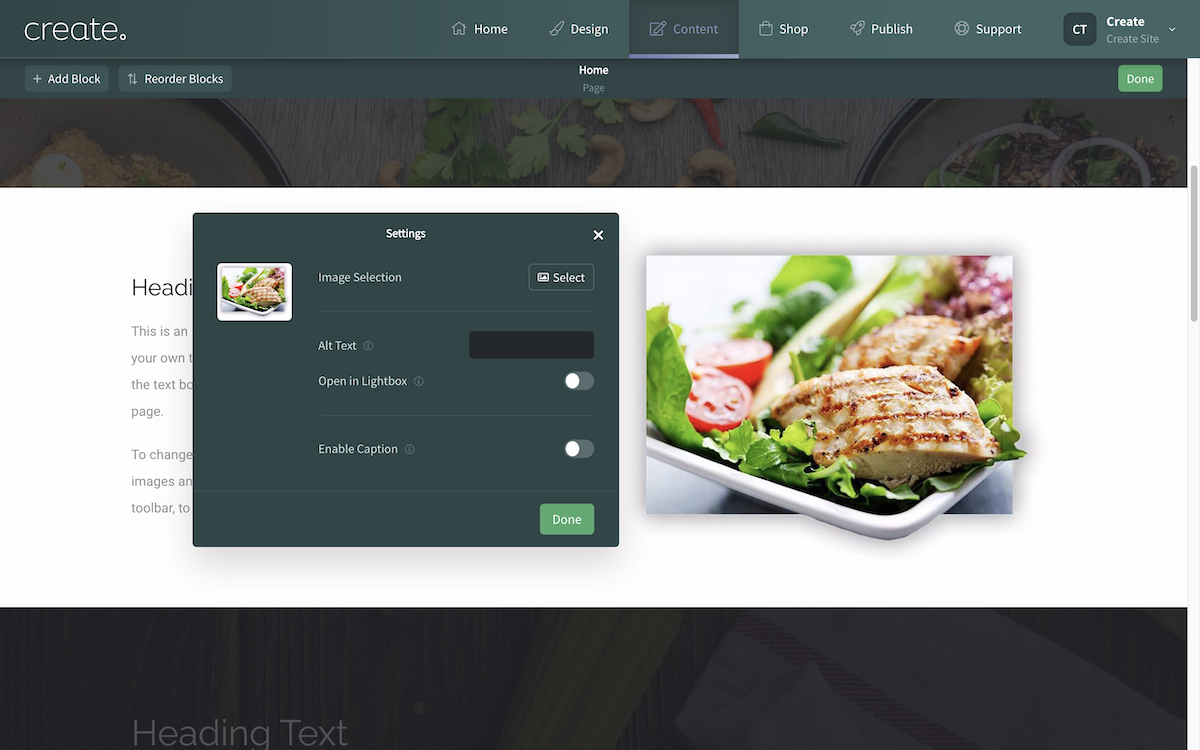
After clicking the Settings icon, the Image Settings modal will open, as shown below.

Image Selection
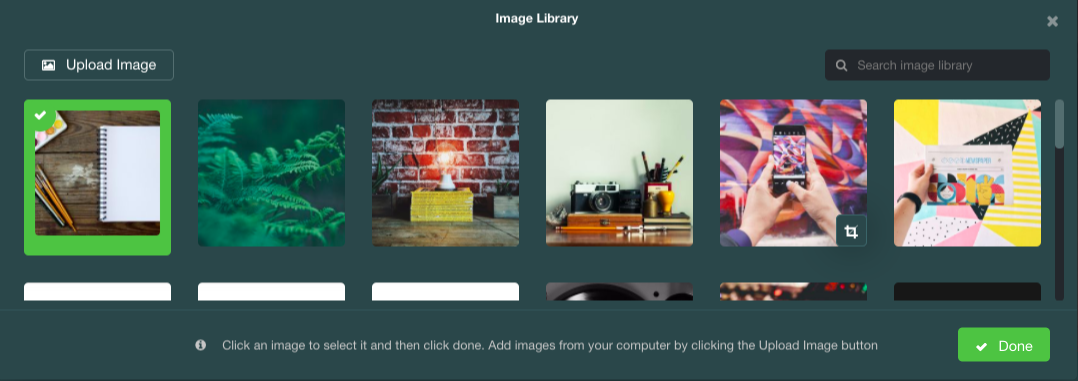
This option is where you choose the image you want to use in this block. By default, there will be a placeholder image, but you can replace this with your own image - just click the Select and this will open the Image Library. Here you will see any images already uploaded or you can upload a new image to use.

Alt Text
In the image settings section you can easily add your Alt Text for the image. They are used primarily for screen readers to relay what is in an image to those who can’t see it. However, they are also used by search engines to understand your content better, and as a fallback (in case your image can’t load for some reason). You can learn more about Alt Text here.
Lightbox
The Lightbox option makes your images stand out. This is perfect for your more detailed images or when you want your customers to be able to get a better view or close-up of your images. Just toggle on the Open in Lightbox switch and when your visitor clicks the image, they’ll open up a larger version on your website.
Related Articles
More Questions?
If you have any further questions, please get in touch and we will be happy to help.
Get in Touch


